Introduction
Valentine’s Day is not just a celebration of love but also a time to express affection through the art of cooking. For many, sharing food becomes an intimate way to connect with family, friends, or that special someone. Whether it’s a romantic dinner or a gathering of loved ones, the act of cooking and sharing delicious treats can foster joy and create lasting memories. Among the myriad of sweet offerings that can grace your Valentine’s Day table, the Sweet and Savory Valentine’s Peanut Butter Cookie Bars stand out as a perfect indulgence.
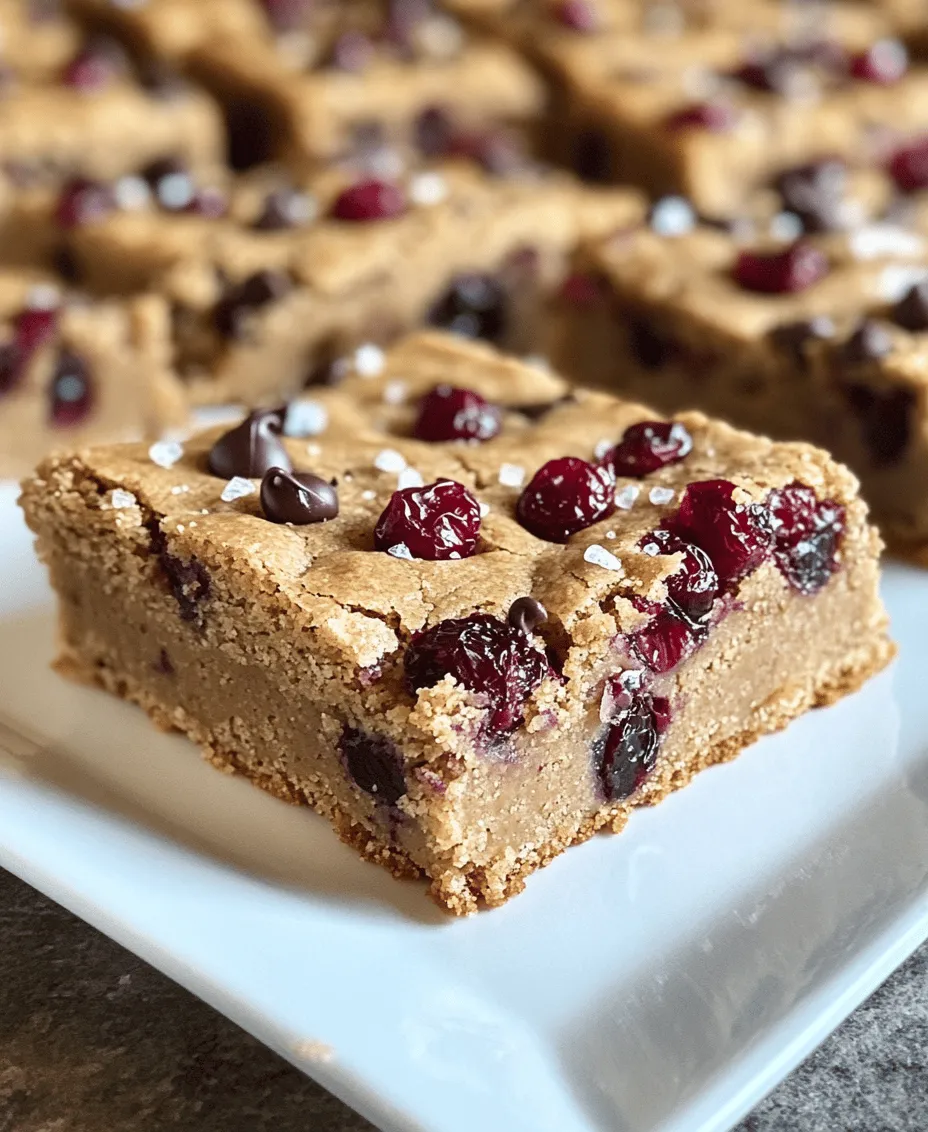
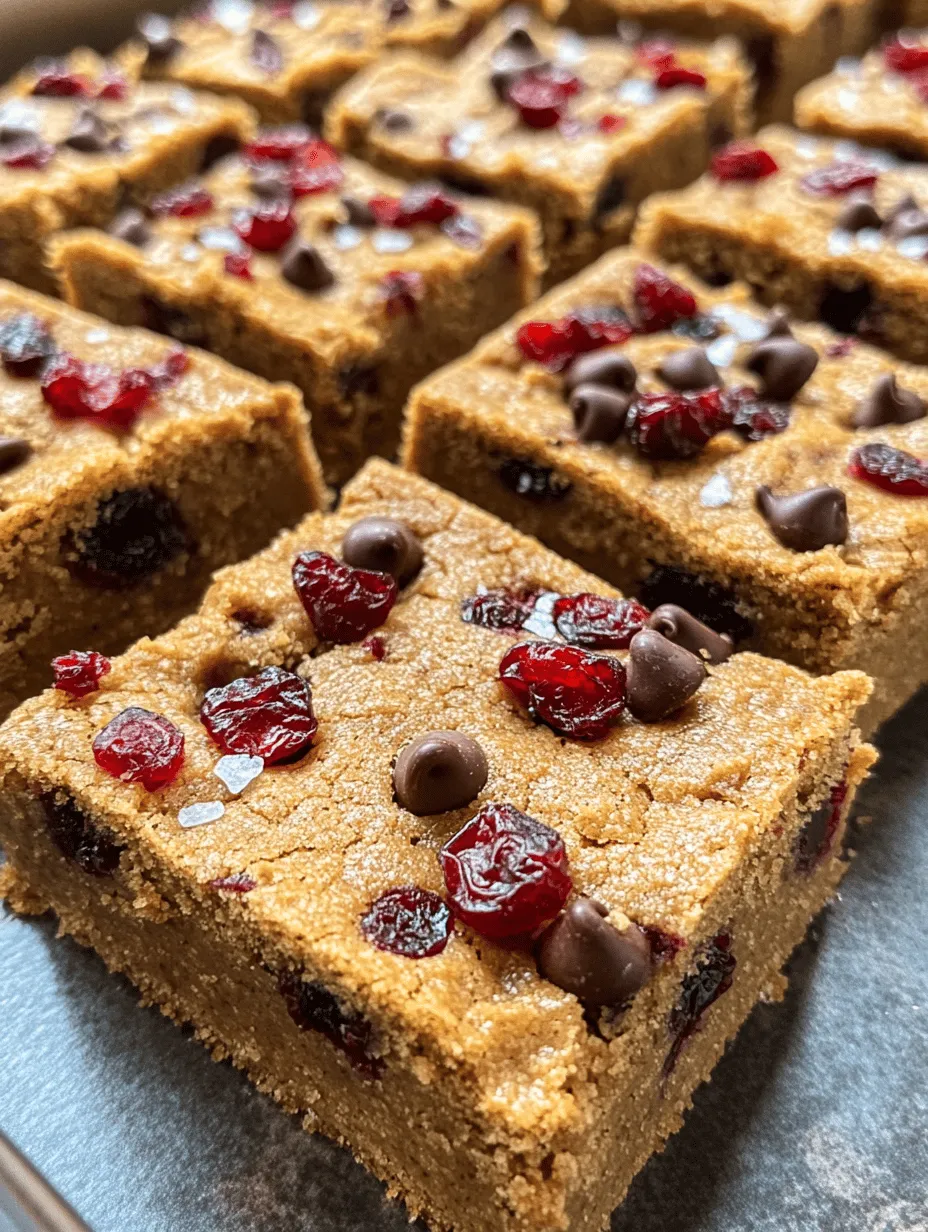
These cookie bars are an enchanting fusion of flavors, marrying the creamy richness of peanut butter with the decadent sweetness of chocolate and the tartness of dried cranberries or cherries. The interplay of these ingredients results in a dessert that is not only pleasing to the palate but also visually appealing—a true feast for the eyes and the taste buds. This recipe is simple enough for bakers of all skill levels, making it an accessible treat to whip up for your loved ones, whether you’re an experienced home baker or a novice in the kitchen.
What makes these cookie bars particularly special is their ability to combine sweet and savory elements, creating a delightful balance that will leave your guests craving more. With a rich, chewy texture and a burst of flavor in every bite, these bars are sure to become a staple in your Valentine’s Day repertoire.
The Allure of Peanut Butter in Baking
Peanut butter has long held a special place in the hearts of dessert lovers. Its versatility and unique flavor profile make it a beloved ingredient in various baked goods, from cookies to brownies. The creamy spread not only adds a rich, nutty taste but also contributes to the moistness and texture of the final product. What’s more, peanut butter is packed with nutritional benefits that elevate its status from mere indulgence to a more wholesome choice.
Rich in protein and healthy fats, peanut butter provides a satisfying energy boost, making these peanut butter cookie bars a treat that you can feel good about enjoying. The protein content helps to keep you feeling full longer, while the healthy fats support overall wellness. Furthermore, the natural sugars found in peanut butter can help to balance blood sugar levels, making it a smart addition to a variety of recipes.
When incorporated into baked goods, peanut butter enhances not only the flavor but also the texture. It lends a chewy, fudgy quality that can elevate a simple cookie or bar to a whole new level of deliciousness. The combination of peanut butter with other ingredients, such as chocolate and dried fruits, creates a symphony of flavors that dance on the palate, making each bite an experience to savor.
Ingredients Breakdown
To create the Sweet and Savory Valentine’s Peanut Butter Cookie Bars, you’ll need a carefully selected blend of ingredients, each playing a crucial role in achieving the perfect balance of taste and texture. Here’s a closer look at each key ingredient and its purpose in this delightful recipe:
– Creamy Peanut Butter: The star of the show, creamy peanut butter provides richness and a deep, nutty flavor that forms the base of these cookie bars. Its smooth texture helps to create a luscious mouthfeel, making each bite a delight.
– Unsalted Butter: This ingredient contributes to the chewy texture that makes these cookie bars so satisfying. Unsalted butter allows you to control the overall saltiness of the recipe, ensuring a balanced flavor.
– Sugars (Brown and Granulated): A combination of brown sugar and granulated sugar gives these bars the perfect sweetness and moisture balance. Brown sugar adds a hint of caramel flavor, while granulated sugar provides structure and a little crunch.
– Egg: The egg acts as a binding agent, helping to hold the ingredients together and adding structure to the cookie bars. It also contributes to the overall richness of the dessert.
– Vanilla Extract: A splash of vanilla extract enhances the overall flavor profile, adding warmth and depth to the cookie bars. It complements the peanut butter and chocolate, creating a harmonious blend of tastes.
– All-Purpose Flour: This ingredient provides the base for the bars, giving them structure and helping to achieve the desired chewy texture. Be sure to measure your flour correctly for the best results.
– Baking Soda and Salt: Baking soda acts as a leavening agent, helping the bars to rise slightly during baking. A pinch of salt enhances the flavors, balancing out the sweetness and elevating the overall taste.
– Chocolate Chips: These little morsels of indulgence add a delightful sweetness and rich chocolate flavor, making the cookie bars even more irresistible. Choose semi-sweet or dark chocolate chips for a lovely contrast to the peanut butter.
– Dried Cranberries or Cherries: The inclusion of dried cranberries or cherries introduces a tart element that beautifully balances the sweetness of the cookie bars. Their chewy texture adds another layer of complexity to each bite.
– Crushed Sea Salt: A finishing touch of crushed sea salt sprinkled on top elevates the flavors, providing a delightful contrast that enhances the overall taste experience. It’s the secret ingredient that takes these cookie bars to the next level.
Step-by-Step Instructions for Perfect Cookie Bars
Creating the Sweet and Savory Valentine’s Peanut Butter Cookie Bars is a straightforward process that will have your kitchen filled with irresistible aromas in no time. Follow these detailed steps to ensure your cookie bars turn out perfectly every time:
Step 1: Preheat the Oven
Begin by preheating your oven to 350°F (175°C). This is an important step as it ensures that your cookie bars bake evenly, resulting in a perfectly chewy and delicious treat.
Step 2: Prepare Your Baking Dish
Line a 9×13 inch baking dish with parchment paper, allowing some overhang for easy removal later. This will prevent the cookie bars from sticking and make for an effortless cleanup.
Step 3: Cream Together Peanut Butter and Butter
In a large mixing bowl, combine your creamy peanut butter and unsalted butter. Use an electric mixer on medium speed to cream the two ingredients together until the mixture is smooth and well-combined. This step is crucial, as it helps to aerate the mixture, contributing to a lighter texture in the final product.
Step 4: Add Sugars and Egg
Next, add both brown sugar and granulated sugar to the peanut butter and butter mixture. Beat the mixture on medium speed until the sugars are fully incorporated and the mixture is fluffy. Then, add the egg and vanilla extract, continuing to mix until everything is well combined.
Step 5: Combine Dry Ingredients
In a separate bowl, whisk together the all-purpose flour, baking soda, and salt. This helps to evenly distribute the leavening agent and salt throughout the flour, ensuring consistent results in your cookie bars.
Step 6: Gradually Add Dry Ingredients
Slowly add the dry ingredients to the wet mixture, mixing on low speed until just combined. Be careful not to over-mix, as this can lead to tough cookie bars. The dough should be thick and slightly sticky.
Step 7: Fold in Chocolate Chips and Dried Fruit
Using a spatula or wooden spoon, gently fold in the chocolate chips and dried cranberries or cherries. Ensure that they are evenly distributed throughout the dough, creating pockets of sweetness and tartness in every bite.
Step 8: Spread the Dough in the Baking Dish
Transfer the dough into the prepared baking dish, using a spatula to spread it evenly into the corners. Smooth the top to create a uniform surface, ensuring that the cookie bars bake evenly.
Step 9: Bake
Place the baking dish in the preheated oven and bake for 20-25 minutes, or until the edges are golden brown and a toothpick inserted into the center comes out clean or with a few moist crumbs. Be careful not to over-bake, as you want the bars to remain chewy.
Step 10: Add Finishing Touches
Once baked, remove the dish from the oven and sprinkle crushed sea salt over the top while the bars are still warm. This step adds a delightful contrast to the sweetness and enhances the overall flavor profile.
Step 11: Cool and Cut
Allow the cookie bars to cool in the baking dish for about 10 minutes, then use the parchment overhang to lift them out. Transfer to a wire rack to cool completely before cutting into squares or rectangles. This will ensure that the bars hold their shape and are easy to serve.
With these easy-to-follow steps, you’ll create irresistible Sweet and Savory Valentine’s Peanut Butter Cookie Bars that are sure to impress your loved ones and make your Valentine’s Day celebration even sweeter.
Stay tuned for more insights on variations, serving suggestions, and tips for perfect results!

Detailed Preparation Steps
Preheating the Oven and Preparing the Baking Pan
Before diving into the mixing process, it’s crucial to preheat your oven to 350°F (175°C). Preheating ensures that your Sweet and Savory Valentine’s Peanut Butter Cookie Bars bake evenly from the start, resulting in a perfectly textured treat. While the oven is heating, prepare your baking pan—a 9×13 inch pan works best for this recipe.
To prevent sticking and facilitate easy removal of the bars after baking, line the bottom and sides of the pan with parchment paper. This not only makes for a cleaner presentation but also helps maintain the integrity of the bars, as they can be lifted out of the pan easily once cooled. Additionally, lightly greasing the parchment paper can provide an extra layer of assurance against sticking.
Mixing Wet Ingredients
Next comes the heart of the recipe: mixing your wet ingredients. In a large mixing bowl, combine 1 cup of creamy peanut butter and 1/2 cup of softened unsalted butter. Using a hand mixer or stand mixer, blend these together until the mixture is smooth and well-combined. The goal here is to achieve a creamy consistency that is neither too thick nor too runny, which is vital for the structure of your cookie bars.
If you’re using natural peanut butter, which can often be thicker than conventional brands, you may need to adjust the butter slightly to achieve the desired consistency. A tip for achieving a smoother blend is to allow the butter to soften at room temperature before mixing, as this can help incorporate the two ingredients more seamlessly.
Incorporating Sugars
Once your wet ingredients are combined, it’s time to add your sugars. Gradually mix in 1/2 cup of brown sugar and 1/2 cup of granulated sugar. The key to fluffy cookie bars lies in the beating process; you want to cream the sugars with the peanut butter and butter mixture until the mixture becomes light and fluffy—this usually takes about 2-3 minutes.
Beating the sugars thoroughly incorporates air into the mixture, which contributes to a lighter texture in the final product. This step is crucial, as it sets the foundation for your cookie bars to rise properly in the oven.
Adding Dry Ingredients
Now, it’s time to introduce the dry ingredients. In a separate bowl, whisk together 1 1/2 cups of all-purpose flour, 1/2 teaspoon of baking soda, and a pinch of salt. Gradually add this dry mixture to your wet ingredients, mixing on a low speed until just combined.
Be cautious not to overmix at this stage. Overmixing can lead to tough cookie bars instead of the tender, chewy texture you’re aiming for. Stop mixing as soon as you see no dry flour; a few lumps are perfectly acceptable.
Folding in Chocolate and Fruit
With your dough prepared, it’s time to fold in the delightful mix-ins that will elevate your cookie bars. Gently fold in 1 cup of semi-sweet chocolate chips and 1/2 cup of dried cranberries or cherries using a spatula or wooden spoon. The technique of folding rather than stirring ensures that the chocolate and fruit are evenly distributed throughout the dough without overworking it.
The balance of sweet chocolate and tart fruit complements the savory peanut butter beautifully, enhancing the overall flavor profile of the bars.
Baking Time and Visual Cues for Doneness
Now that your batter is ready, transfer it to your prepared baking pan, spreading it evenly into the corners. Bake in your preheated oven for 20-25 minutes. Keep an eye on the bars during the last few minutes of baking; they are done when the edges are lightly golden, and a toothpick inserted in the center comes out with a few moist crumbs (not wet batter).
Overbaking can lead to a dry texture, so err on the side of caution. If unsure, you can always check for doneness a couple of minutes early.
Cooling and Cutting
Once baked to perfection, remove the pan from the oven and allow the bars to cool in the pan for about 10 minutes. This resting period helps set the bars slightly but does not cool them completely. After 10 minutes, carefully lift the parchment paper to remove the bars from the pan and transfer them to a wire rack to cool completely.
Once cooled, use a sharp knife to cut them into squares or rectangles. For a more festive presentation, consider cutting them into heart shapes using a cookie cutter. This not only adds to the aesthetic but also makes them perfect for sharing on Valentine’s Day.
Flavor Profile and Texture
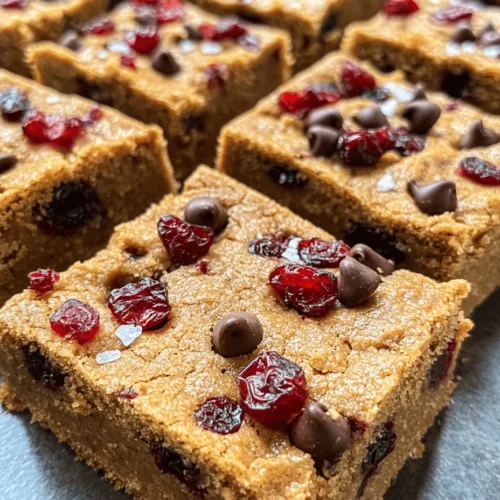
The Sweet and Savory Valentine’s Peanut Butter Cookie Bars showcase a delightful balance of flavors. The primary sweetness comes from the sugars and chocolate, while the peanut butter provides a rich, nutty backdrop. The dried cranberries or cherries add a burst of tartness, cutting through the sweetness and enhancing the overall experience.
The texture is equally appealing; each bite reveals a chewy base with a satisfying crunch from the chocolate chips and a slight chewiness from the fruit. The addition of a sprinkle of sea salt before baking elevates the flavor profile, enhancing the sweetness and creating a gourmet feel that is often found in high-end desserts.
Serving and Storing Suggestions
When it comes to presenting your cookie bars for Valentine’s Day, consider placing them on a decorative platter or cutting board. A simple dusting of powdered sugar can add an elegant touch. To elevate the romantic ambiance, arrange some fresh strawberries or raspberries around the bars or even sprinkle edible flowers for a pop of color.
For storage, these cookie bars can be kept in an airtight container at room temperature for up to a week. If you need to extend their life, you can refrigerate them for up to two weeks or freeze them for up to three months. When freezing, ensure they are well-wrapped to prevent freezer burn.
Pair these delicious bars with a glass of milk for a classic treat, or serve alongside a warm cup of coffee or tea to enhance the cozy experience. The peanut butter flavor complements the richness of coffee, while the tartness of the fruit works beautifully with tea.
Why These Cookie Bars are Perfect for Valentine’s Day
Homemade treats carry an emotional weight that store-bought sweets simply cannot replicate. Sharing Sweet and Savory Peanut Butter Cookie Bars with loved ones is an expression of care and affection. The act of baking itself becomes a way to connect, whether you’re preparing them for a partner, family, or friends.
This recipe also caters to various dietary preferences. For a vegan adaptation, substitute the butter with coconut oil, and use a flax egg or applesauce in place of the egg. Such versatility ensures that everyone can enjoy these delightful bars.
Additionally, the heart-shaped presentation resonates with the spirit of Valentine’s Day, making them an ideal treat for the occasion. The thoughtful touches in both preparation and presentation convey love and creativity, transforming a simple dessert into a cherished gift.
Conclusion
Baking Sweet and Savory Valentine’s Peanut Butter Cookie Bars is not just about creating a delicious treat; it’s about sharing joyous moments with those you care about. The process of baking allows for creativity, experimentation, and, most importantly, the opportunity to create lasting memories through shared meals.
Embrace the joy of baking, whether for a special occasion or simply for the love of it. These cookie bars are more than just a dessert; they are a heartfelt expression of love, making every bite a reminder of the warmth and sweetness that homemade treats bring to our lives. So gather your ingredients, follow the steps, and enjoy every moment of this delightful baking journey.


