Introduction
Granola cups have emerged as a delightful and nutritious option for those seeking a quick breakfast or an on-the-go snack. These versatile treats combine the wholesome goodness of granola with the refreshing flavors of yogurt and fresh fruit, making them a favorite among health-conscious individuals and families alike. As the trend of homemade granola recipes continues to gain traction, more people are discovering the benefits of incorporating fresh, natural ingredients into their diets. The ease of preparation, coupled with the nutritional value packed into each cup, makes granola cups an ideal choice for busy lifestyles that demand quick yet healthy eating.
Whether you’re rushing out the door in the morning, looking for a post-workout snack, or simply craving something satisfying yet nutritious, granola cups fit the bill perfectly. They can be customized to suit various tastes and dietary preferences, allowing you to experiment with different ingredients, flavors, and toppings. Plus, these cups are not only delicious but also provide a balanced mix of carbohydrates, protein, and healthy fats, ensuring you stay energized throughout the day.
Understanding Granola Cups
To better appreciate granola cups, it’s essential to understand what they are and where they originated. Granola itself is a popular breakfast food made from rolled oats, nuts, honey, and other ingredients that are baked until crispy. The concept of granola cups builds on this idea, transforming the traditional granola into a convenient, cup-shaped vessel filled with creamy yogurt and topped with fresh fruit.
The origin of granola can be traced back to the late 19th century when it was created as a health food. Initially, it was a mix of oats, grains, and sweeteners that were baked into a crunchy cereal. Over the years, granola has evolved into various forms, including granola bars and clusters, and now, with the introduction of granola cups, it has taken on a new dimension. Their appeal lies in their portability; granola cups can be easily packed for breakfast at work or a nutritious snack while running errands.
Nutritional Benefits of Granola Cups
Granola cups are not just a tasty treat; they are also brimming with nutritional benefits thanks to their wholesome ingredients. Let’s explore some of the key components that contribute to their health benefits:
Rolled Oats
At the heart of any granola recipe are rolled oats, which are renowned for their health benefits. Oats are an excellent source of dietary fiber, particularly beta-glucan, which has been shown to help lower cholesterol levels and support heart health. Additionally, the fiber in oats aids digestion and promotes feelings of fullness, making them a great addition to any meal.
Nuts
Nuts are a powerhouse of nutrition, offering healthy fats, protein, and essential vitamins and minerals. Including nuts in your granola cups not only enhances their flavor but also adds a satisfying crunch. Varieties such as almonds, walnuts, and pecans provide omega-3 fatty acids, which are beneficial for brain health and can help reduce inflammation in the body.
Honey/Maple Syrup
Natural sweeteners like honey and maple syrup are often used in granola cups as healthier alternatives to refined sugars. Both honey and maple syrup contain antioxidants and have lower glycemic indices than their processed counterparts, helping to maintain stable blood sugar levels. These sweeteners add a delightful flavor while bringing additional health benefits to the table.
Coconut Oil
Coconut oil is commonly employed in granola recipes for its rich flavor and texture. It contains medium-chain triglycerides (MCTs), which are known for their potential to boost metabolism and provide a quick source of energy. Additionally, coconut oil has antimicrobial properties that can benefit gut health.
Greek Yogurt
When it comes to adding creaminess and protein to granola cups, Greek yogurt is an excellent choice. Packed with probiotics, Greek yogurt supports digestive health and boosts the immune system. Its high protein content also helps to keep you feeling full longer, making granola cups an ideal meal replacement or snack.
Fruits
Fresh fruits are the finishing touch that elevates granola cups to a whole new level. Bursting with vitamins, minerals, and antioxidants, fruits such as berries, bananas, and apples not only enhance the flavor but also provide natural sweetness. These colorful additions contribute to overall health by promoting heart health, aiding digestion, and supporting skin health.
Essential Ingredients for Granola Cups
Creating delicious granola cups requires a few essential ingredients, many of which can be easily found in your pantry or local grocery store. Below is a comprehensive list of what you’ll need, along with potential substitutions to suit your preferences or dietary restrictions:
– Rolled Oats: The base of your granola cups. You can use old-fashioned rolled oats for a chewier texture or quick oats if you prefer a finer consistency. Gluten-free oats are also available for those with gluten sensitivities.
– Nuts: Almonds, walnuts, and pecans are popular choices, but feel free to experiment with other nuts such as cashews or hazelnuts. You can also use nut butters like almond or peanut butter for additional flavor and creaminess.
– Sweeteners: Honey and maple syrup are both excellent natural sweeteners. You can also substitute agave nectar or brown rice syrup for a vegan option.
– Coconut Oil: For binding and flavor, coconut oil is a fantastic choice. If you prefer a different flavor profile, you can use unsalted butter or even olive oil.
– Flavoring with Spices: A touch of cinnamon or vanilla extract can enhance the flavor of your granola cups. Feel free to experiment with other spices like nutmeg or cardamom for a unique twist.
– Fruit Choices: Fresh fruits such as strawberries, blueberries, bananas, and kiwi are great for topping your granola cups. Consider seasonal variations or dried fruits like cranberries or raisins for added texture.
– Optional Seeds: Adding seeds such as chia seeds, flaxseeds, or pumpkin seeds can boost the nutritional content of your granola cups, providing extra fiber, protein, and healthy fats.
By selecting high-quality ingredients and making thoughtful substitutions, you can create granola cups that align perfectly with your dietary preferences and nutritional goals.
Step-by-Step Guide to Making Granola Cups
Now that you understand the benefits and essential ingredients for granola cups, it’s time to dive into the preparation process. Follow this step-by-step guide to create your own granola cups, which can be customized to your liking.
Step 1: Preheat the Oven
Begin by preheating your oven to 350°F (175°C). This ensures that your granola cups bake evenly and achieve that perfect crunchy texture.
Step 2: Prepare the Muffin Tin
While the oven is heating, prepare a muffin tin by greasing it with coconut oil or using silicone muffin liners. This will help prevent the granola cups from sticking and make them easier to remove once baked.
Step 3: Mix the Dry Ingredients
In a large mixing bowl, combine rolled oats, your choice of chopped nuts, and any spices you wish to use. Stir these dry ingredients together until they are evenly distributed.
Step 4: Combine the Wet Ingredients
In a separate bowl, mix together your chosen sweetener (honey or maple syrup), melted coconut oil, and any additional flavorings such as vanilla extract. Stir until the mixture is well combined.
Step 5: Combine Wet and Dry Ingredients
Pour the wet mixture over the dry ingredients, and mix thoroughly until all the oats and nuts are coated. The mixture should hold together when squeezed in your hand. If it feels too dry, you can add a little more coconut oil or sweetener to achieve the right consistency.
Step 6: Fill the Muffin Tin
Scoop the granola mixture into the prepared muffin tin, pressing it down firmly to create a cup shape. Make sure to leave some space at the top, as the granola will expand slightly during baking.
Step 7: Bake
Place the muffin tin in the preheated oven and bake for 15-20 minutes or until the granola cups are golden brown and fragrant. Keep an eye on them to prevent burning, as baking times can vary based on your oven and the size of your cups.
Step 8: Cool and Assemble
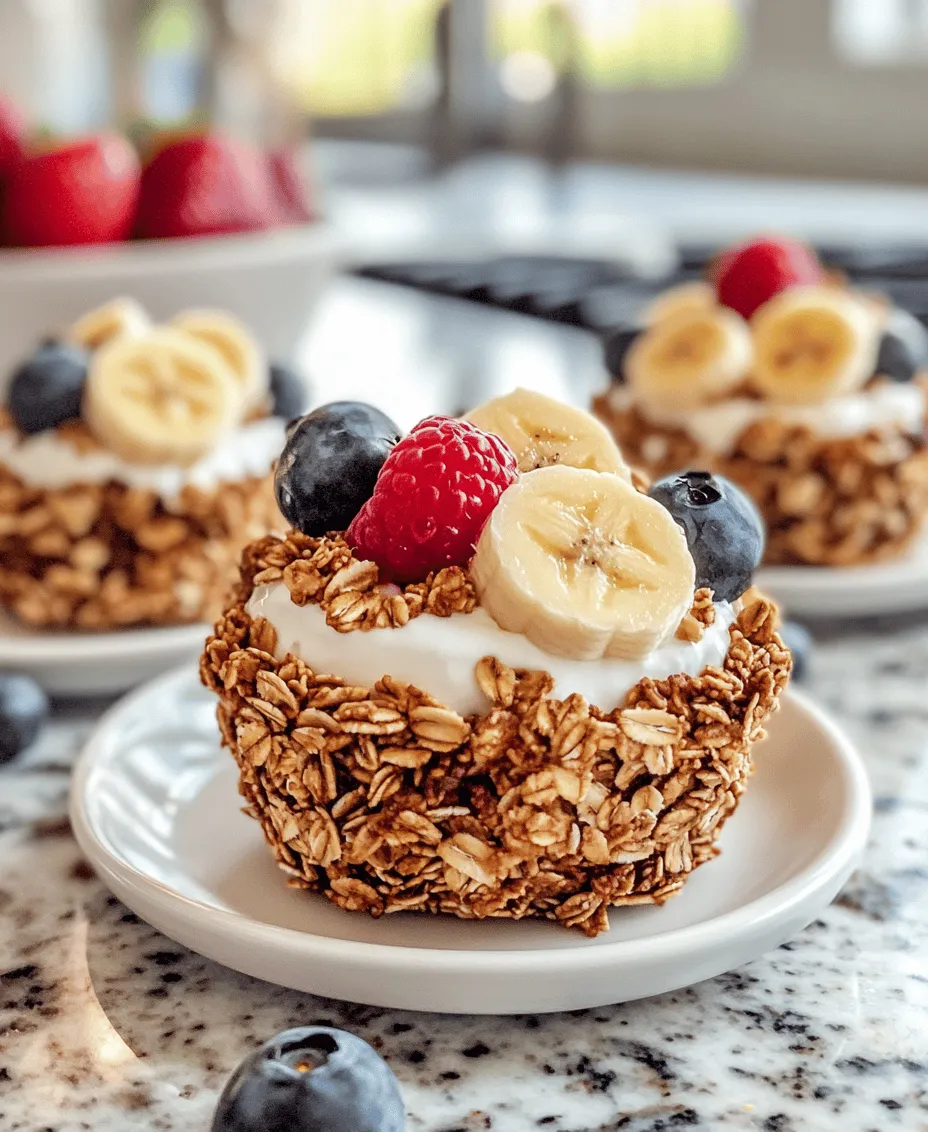
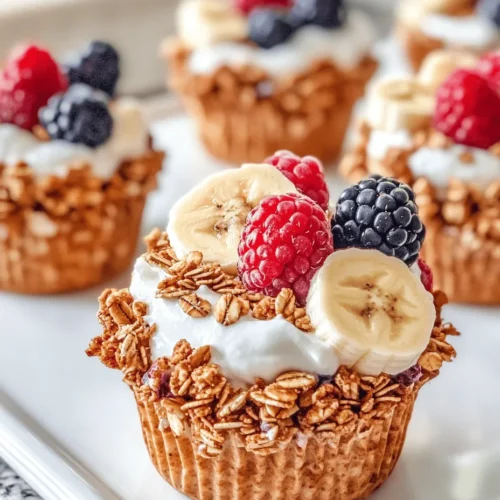
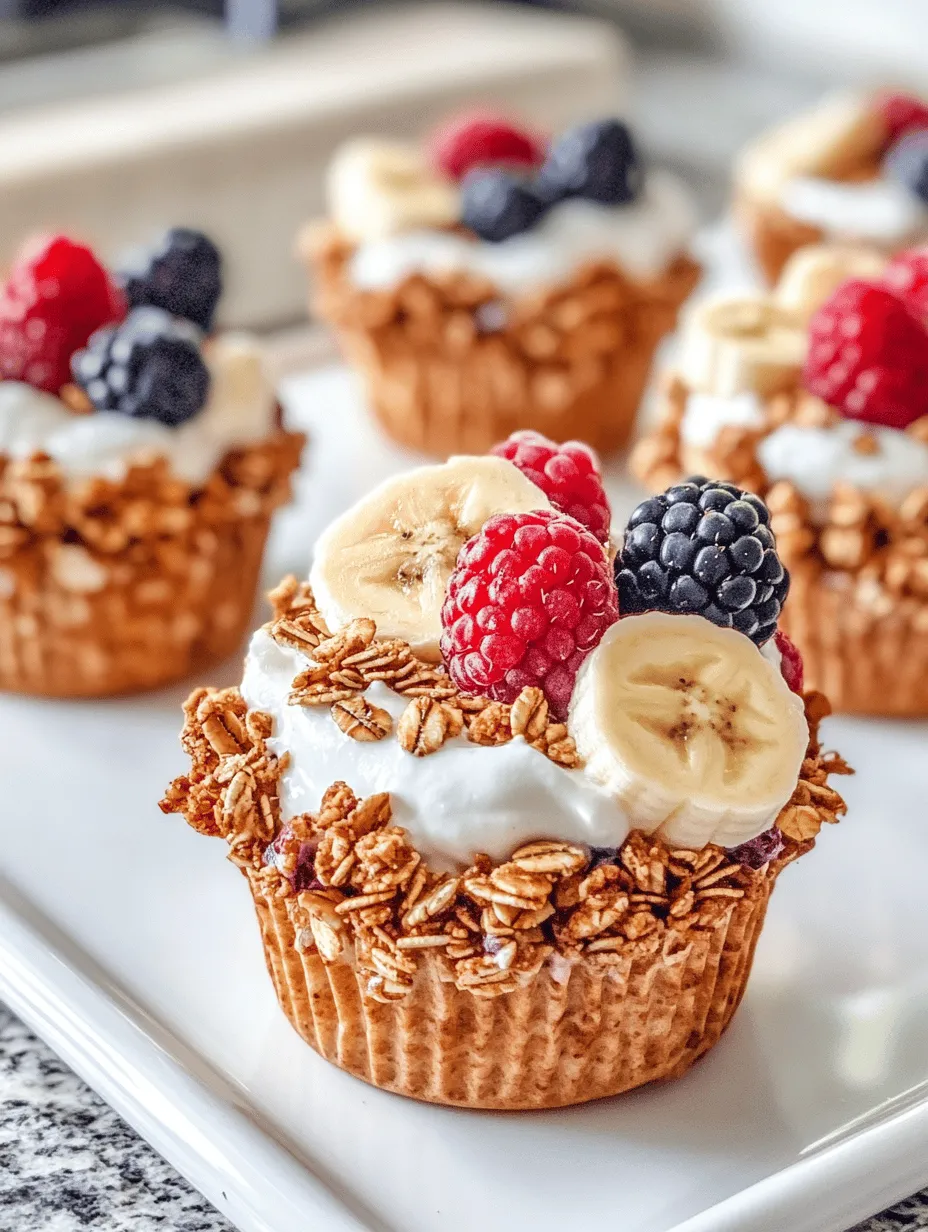
Once baked, remove the granola cups from the oven and allow them to cool in the tin for about 10 minutes. Carefully remove them and place them on a wire rack to cool completely. Once cooled, fill each granola cup with a generous dollop of Greek yogurt and top with your choice of fresh fruit.
By following these steps, you will have delicious, homemade granola cups ready to enjoy. These cups not only make a satisfying snack or breakfast but also provide a nutritious and wholesome option for any time of the day.
Now that you’ve learned the basics of preparing granola cups, let’s continue exploring more about this delightful recipe and its variations in the next part of the article.

Preheating the Oven
To kick off the granola cups preparation, preheating the oven is essential. Setting your oven to the right temperature—typically around 350°F (175°C)—ensures that your granola cups bake evenly. This step is crucial for achieving that perfect crunch without any sogginess. An adequately preheated oven facilitates an even distribution of heat, which is key to forming a solid granola structure. Skipping this step could lead to undercooked or unevenly baked granola that might break apart when you try to remove the cups from the muffin tin.
Making the Granola Base
Creating the granola base is an art that hinges on the right mix of ingredients. Begin by combining oats, nuts, seeds, and sweeteners like honey or maple syrup in a large mixing bowl. For optimal flavor, ensure that all components are evenly coated with the sweetener and any added oils, which not only enhance taste but also aid in binding the mixture together. A gentle fold is often preferable to a vigorous stir, as it helps maintain the structure of the nuts and oats. Incorporating spices such as cinnamon or nutmeg can elevate the flavor profile, making your granola base more aromatic and appealing.
Forming the Cups
Once your granola mixture is ready, it’s time to form the cups. Grease your muffin tin with cooking spray or a thin layer of oil to prevent sticking. Using your hands or a small measuring cup, scoop a portion of the granola mixture into each muffin cup. Press it firmly down to create a sturdy cup shape, ensuring to make the walls thicker than the base to avoid breaking during the baking process. One helpful tip is to use a small shot glass to press the mixture down uniformly, which not only shapes them well but also creates a nice indentation for the yogurt and fruit filling.
Baking Process
The baking phase is critical for achieving that golden brown color and crunchy texture. Bake the granola cups for about 15-20 minutes, keeping an eye on them toward the end of the baking time. Look for a light golden hue and a slightly firm texture. Over-baking can lead to a bitter taste, so it’s advisable to check them a few minutes earlier than the suggested time. If you notice they are browning too quickly, you can cover them lightly with aluminum foil to prevent burning while still allowing for cooking.
Cooling Tips
Once baked, remove the muffin tin from the oven and let it cool for about 10 minutes. This step is vital as cooling helps the granola cups firm up and develop their flavors. Attempting to remove them from the tin while they are still warm can lead to crumbling and breakage. After the initial cooling, gently run a knife around the edges of each cup before carefully lifting them out. Allow them to cool completely on a wire rack to ensure they maintain their structure and crispness.
Filling and Topping
Filling your granola cups is where the fun begins. Start with a base of yogurt—Greek yogurt is an excellent choice due to its creaminess and protein content. For added flavor, consider mixing in honey, vanilla extract, or even a splash of citrus juice. Layering your yogurt with seasonal fruits not only enhances the visual appeal but also adds fresh flavors. Berries, sliced bananas, and kiwi are popular choices, but feel free to get creative with your toppings. A sprinkle of granola on top adds a delightful crunch, while a drizzle of honey or a dash of cinnamon can elevate the entire dish.
Creative Variations for Granola Cups
When it comes to granola cups, the possibilities are endless. Here are a few exciting variations to explore:
– Nut-Free Options: For those with nut allergies, substitute nuts with seeds such as sunflower or pumpkin seeds, or even use puffed grains like rice or quinoa for a delightful crunch.
– Flavoring the Yogurt: Instead of plain yogurt, consider mixing in flavors like honey, vanilla extract, or even a bit of cocoa powder for a chocolatey twist. This can transform the flavor profile and cater to different taste preferences.
– Seasonal Fruits: Adapt the recipe according to the season. In summer, opt for stone fruits like peaches and nectarines, while in fall, apples and pears can add a comforting flavor.
– Adding Spices: Experiment with spices like cardamom, ginger, or nutmeg in the granola base or the yogurt to introduce unique flavor profiles that can elevate your granola cups.
Serving Suggestions and Pairings
Granola cups are versatile and can be enjoyed at any time of the day. Here are some serving suggestions:
– Ideal Times to Enjoy: These granola cups make for a perfect breakfast, a mid-afternoon snack, or even a light dessert. They are nutritious enough to fuel your morning while being sweet enough to satisfy a craving later in the day.
– Pairing Suggestions with Beverages: Pair your granola cups with a refreshing smoothie, a cup of coffee, or herbal tea. The creamy yogurt and crunchy granola complement various beverages, making for a well-rounded meal or snack.
– Creative Plating Ideas: For entertaining guests, consider presenting the granola cups on a wooden board, garnished with fresh fruits and a drizzle of honey. This not only enhances the visual appeal but also makes for a beautiful centerpiece.
Storage and Meal Prep Tips
To ensure your granola cups stay fresh, follow these storage practices:
– Best Practices for Refrigeration and Freezing: Store the granola cups in an airtight container in the refrigerator for up to a week. If you want to prepare them in advance, they can also be frozen for up to three months. Just ensure they are fully cooled before placing them in the freezer.
– How to Reheat or Refresh Cups Before Serving: If the cups have been frozen, allow them to thaw in the refrigerator overnight, then reheat in the oven at a low temperature for about 5-10 minutes to restore their crispness before adding your yogurt and toppings.
Conclusion
Granola cups with yogurt and fruit are not only a delicious treat but also a nutritious addition to any meal plan. Their versatility allows for endless customization, making them suitable for various dietary preferences and seasonal ingredients. By preparing these homemade snacks, you can control the ingredients and flavors, ensuring you enjoy wholesome and healthful bites. Whether for breakfast, a snack, or dessert, these granola cups are sure to delight your taste buds. So gather your ingredients, get creative, and enjoy the satisfaction of making your own delightful snacks.


